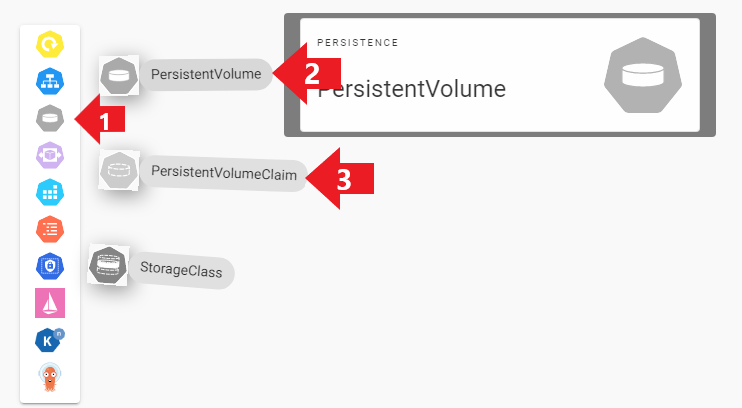
Volume Object
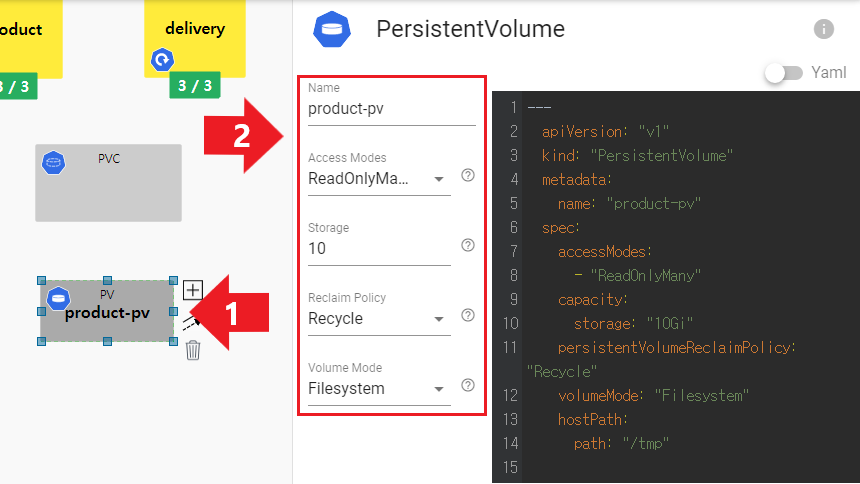
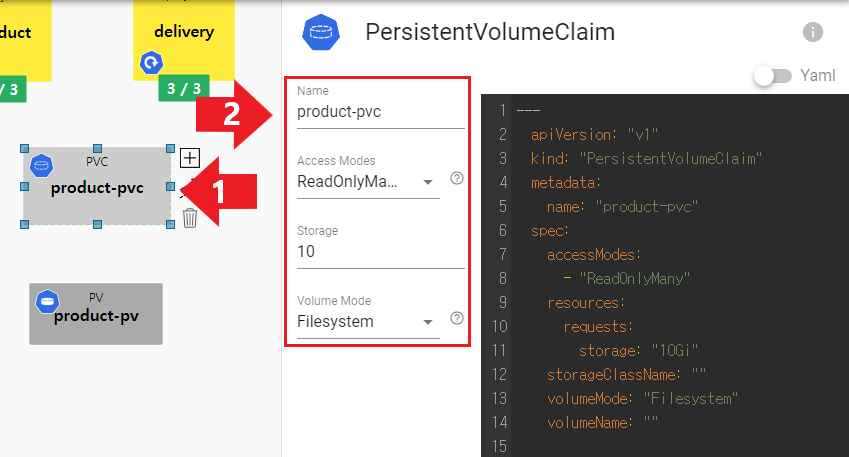
- PersistentVolume, PersistentVolumeClaim 객체를 더블클릭하여 프로퍼티 편집창을 호출합니다.
- 각 프로퍼티 값은 다음과 같이 입력합니다.
Name: product-pv
AccessModes: ReadOnlyMany
Storage: 10Gi
ReclaimPolicy: Recycle
VolumeMode: Filesystem
Name: product-pvc
AccessModes: ReadOnlyMany
Storage: 10
VolumeMode: Filesystem
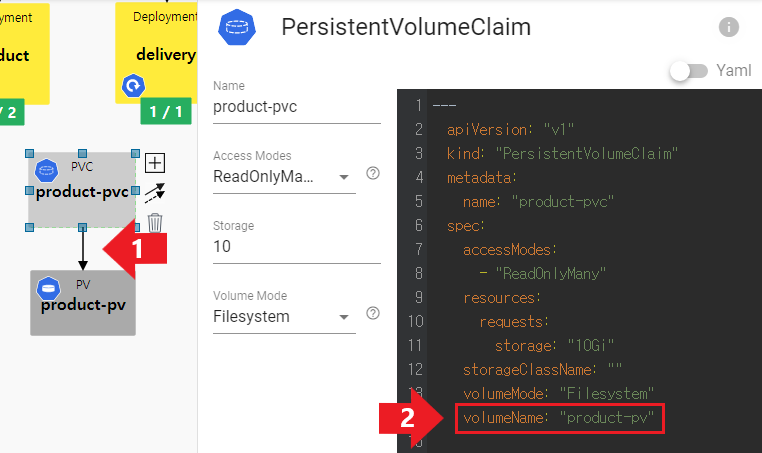
- PVC(PersistentVolumeClaim) 객체를 클릭하여 ↗ 화살표 버튼을 클릭합니다.
- 연결 점선이 나타나면 PV(PersistentVolume) 객체를 클릭합니다.
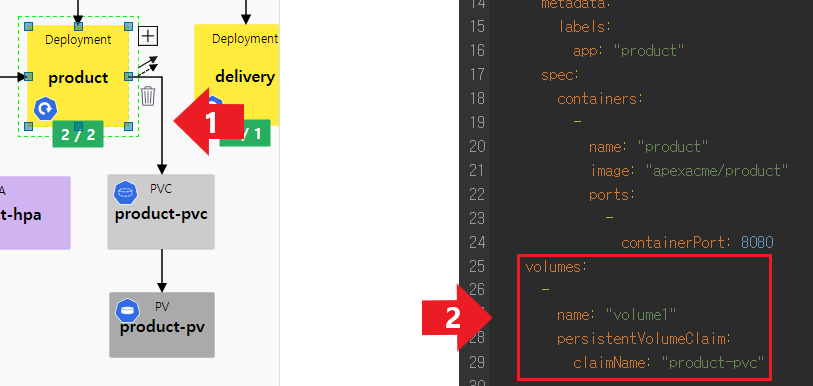
- 연결선이 생기면 PVC 객체를 더블클릭하여 volumeName에 PV 객체의 Name이 있는지 확인합니다.
- product Deployment 객체를 클릭하여 ↗ 화살표 버튼을 클릭합니다.
- 연결 점선이 나타나면 product-pvc 객체를 클릭합니다.
- 연결선이 생기면 Deployment 객체를 더블클릭하여 spec.volumes에 PVC 객체가 있는지 확인합니다.
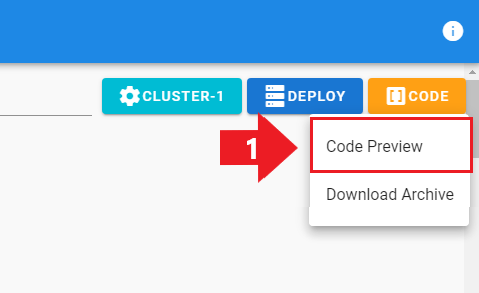
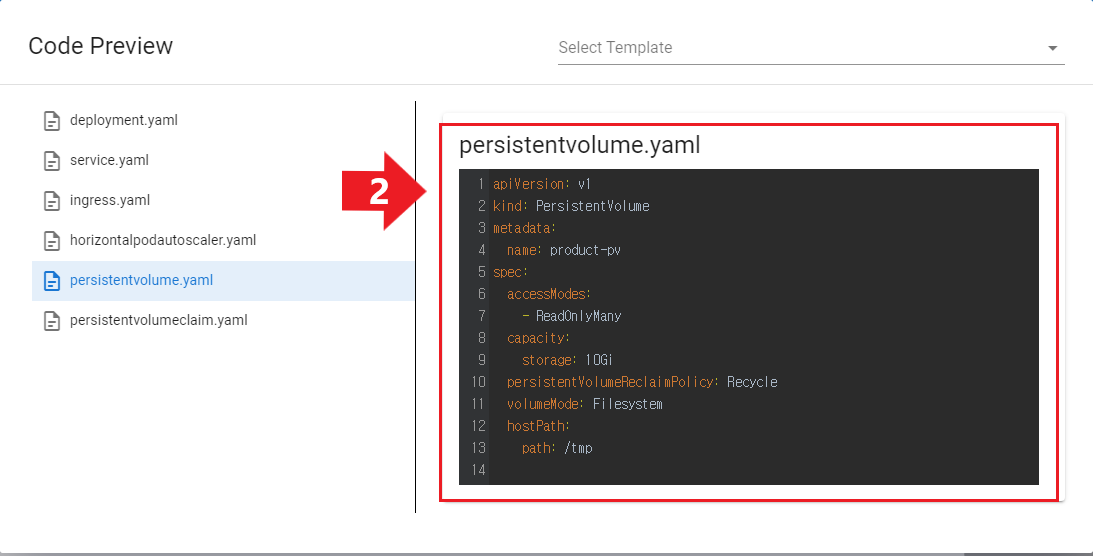
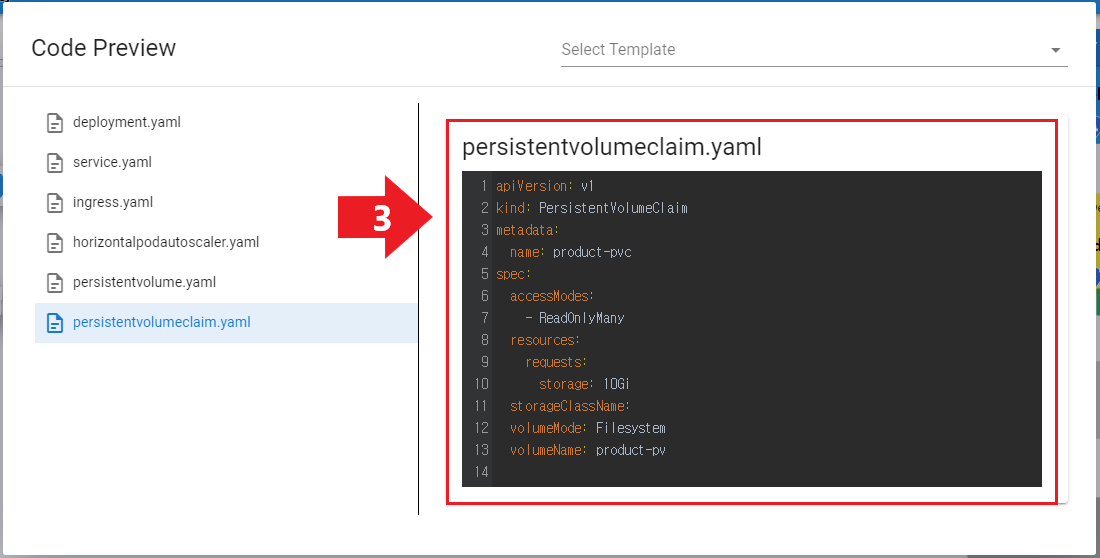
- Yaml과 프로퍼티 편집창에서 설정한 값이 맞는지 확인합니다.

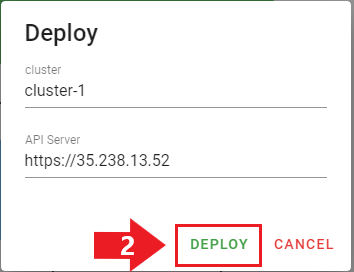
- 배포 전 클러스터 정보를 확인합니다.


- kubectl get pv 명령어 입력 후 PV 객체가 정상적으로 배포되었는지 확인합니다.
- kubectl get pvc 명령어 입력 후 PVC 객체가 정상적으로 배포되었는지 확인합니다.