Istio DestinationRule
Test Case #7. 상품 서비스에 장애 발생시, 장애전파를 사전 차단하기 위해, Istio의 Circuit Breaker를 적용하여 서비스의 Resilency를 높이는 전략을 적용합니다.
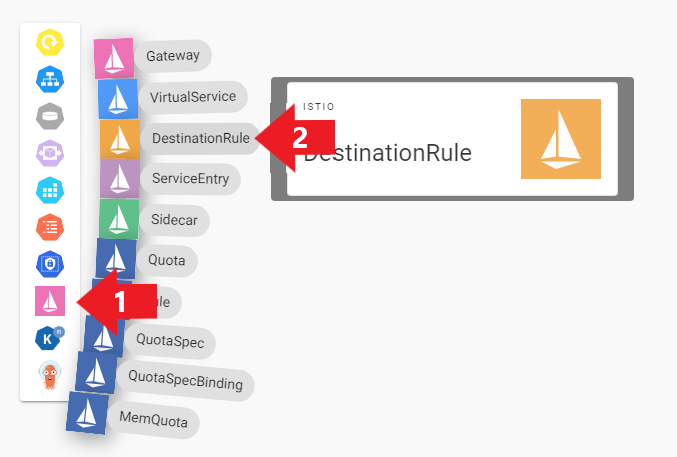
- DestinationRule 객체를 더블클릭하여 프로퍼티 편집창을 호출합니다.
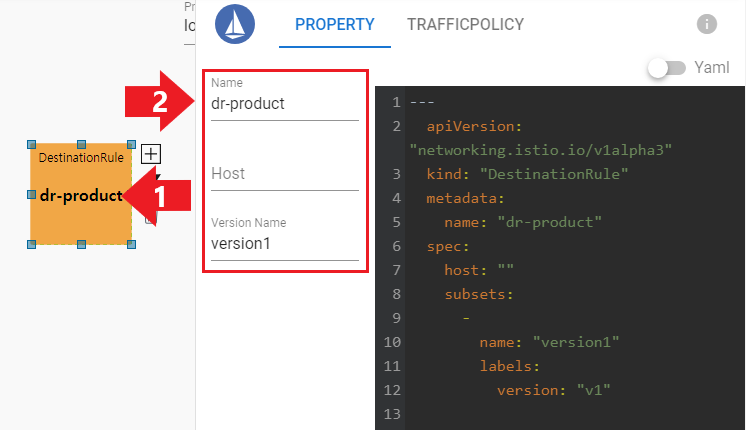
- 각 프로퍼티값은 다음과 같이 입력합니다.
Name: dr-product
Version: version1
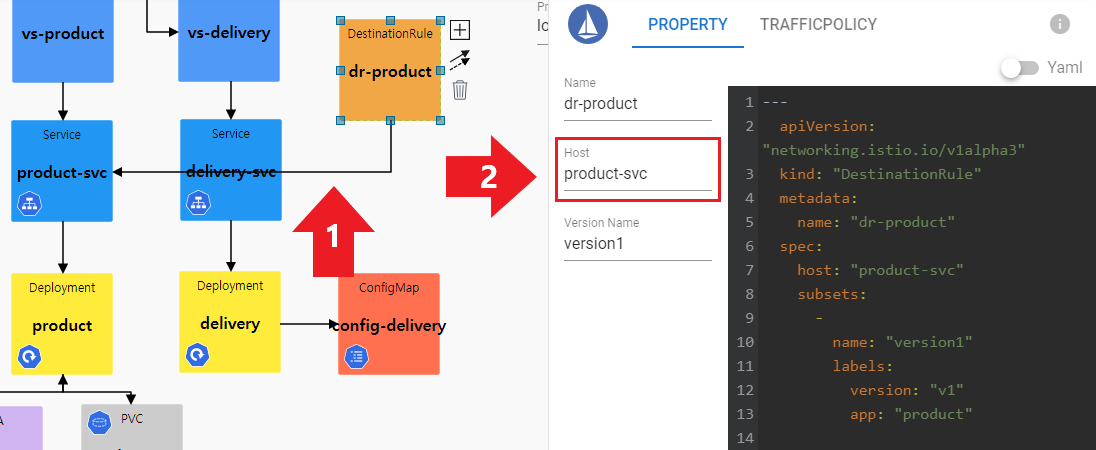
- dr-product 객체를 클릭하여 ↗ 화살표 버튼을 클릭합니다.
- 연결 점선이 나타나면 product-svc 객체를 클릭합니다.
- 연결선이 생기면 dr-product 객체를 더블클릭하여 spec.host에 Service 객체의 Name: product-svc 가 주입되었는지 확인합니다.
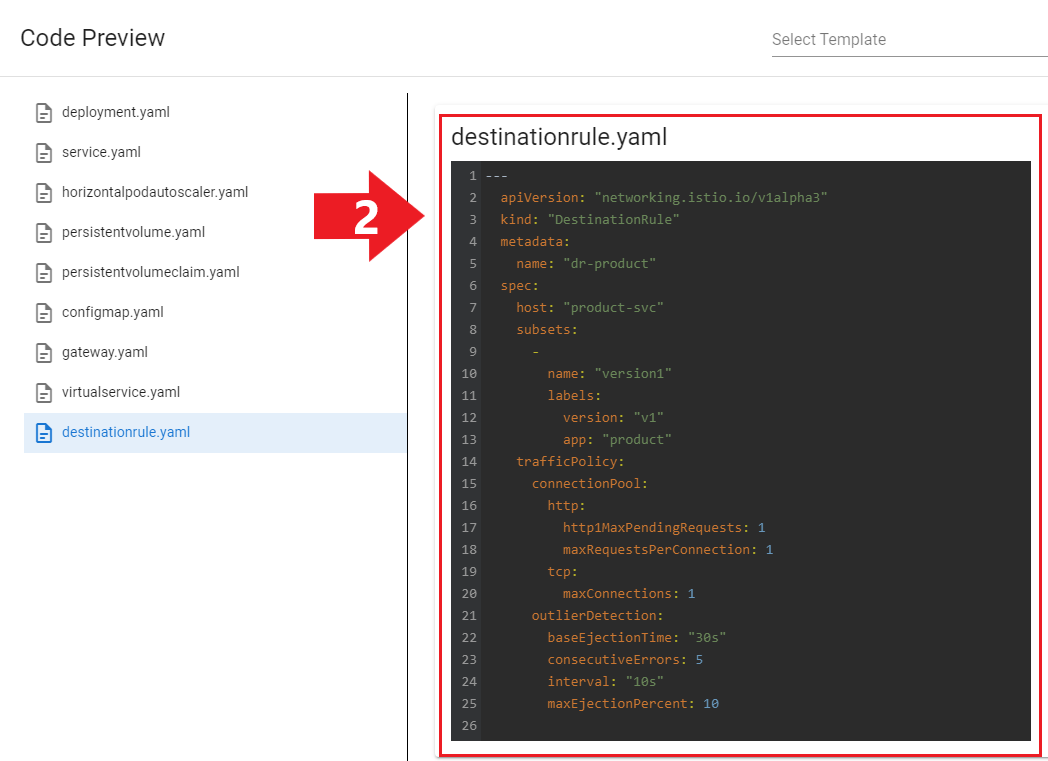
- Yaml과 프로퍼티 편집창에서 설정한 값이 맞는지 확인합니다.

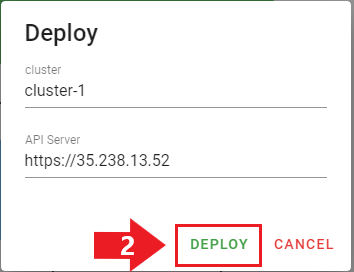
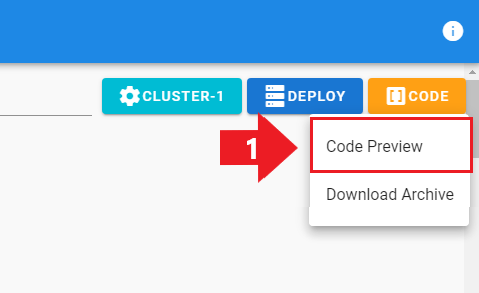
- 배포 전 클러스터 정보를 확인하고 Deploy를 클릭합니다.
- kubectl get destinationrule -n default 명령어 입력 후 DestinationRule 객체가 정상적으로 배포되었는지 확인합니다.