- Tarot Ironman 650 Frame
- Sunnysky Brushless Motor x 4
- HobbyKing ESC x 4
- Pixhawk Flight Controller
- RPLidar A2
- 11x47 Propellers x 4
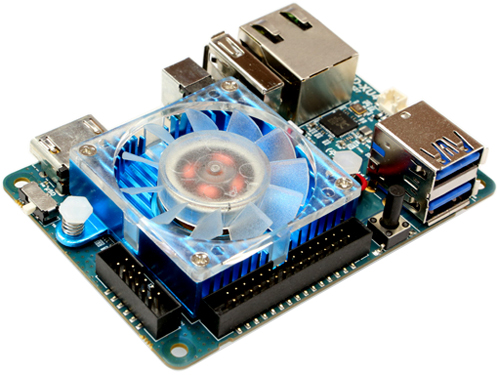
- Odroid XU4
- Teraranger One
- PX4 Flight Stack
- ROS Kinetic
- Ubuntu 16.04
- MAVROS
- Cartographer


Product Page
Accurate and fast distance sensor, uses IR time of flight to capture distance.

Product Page
Cheap and effective LIDAR

By far the most popular open source flight controller in the world
- Power on System by plugging in LIPO
- Check Odroid power up by status LED (blue light flashing)
- Disable safety by pressing the red safety button until LED turns from flashing to solid red
- Open Terminal or Terminal Emulator and SSH into Odroid via following
# NOTE: Both Odroid and client must be on CMU or CMU-SECURE network
ssh odroid@efang_odroid.wv.cc.cmu.edu
# Password if prompted is: odroid- Once SSH session started, source workspace
source ros-odroid-cmu.sh
cd sandbox/quadcopter
source devel/setup.bash- Repeat steps 3 & 4 for a new terminal window, else use TMUX or screen to open a new window (guide here)
- In one terminal, start MAVROS and preparatory ROS nodes
roslaunch hallway_navigator cartographer_mavros.launch- In the other terminal, start cartographer and associated ROS nodes
roslaunch hallway_navigator cartographer_slam.launch- (Optional) On client side computer (laptop), establish ROS network (script modification described below)
source ros-odroid-cmu.sh-
(Optional) use
rvizto view mapping and localization -
Arm the drone and perform liftoff in MANUAL mode
-
switch to POSITION mode once in desired position
- Script for establishing client side ROS network is given here, alter
ROS_IPas seen fit - During testing always grab onto the drone in case of unexpected behavior
- Do not connect the Pixhawk via its micro-USB port to a computer while it is also powered by battery
- installing QGroundControl can be helpful as a ground station