- API Endpoint: You'll need the endpoint (base URL) and an API key for the model you intend to use.Any service compatible with OpenAI’s API can be integrated. For Groq, the endpoint is:
https://api.groq.com/openai/v1 - API Key: Obtain an API key for the model provider (Groq, OpenAI, etc.).
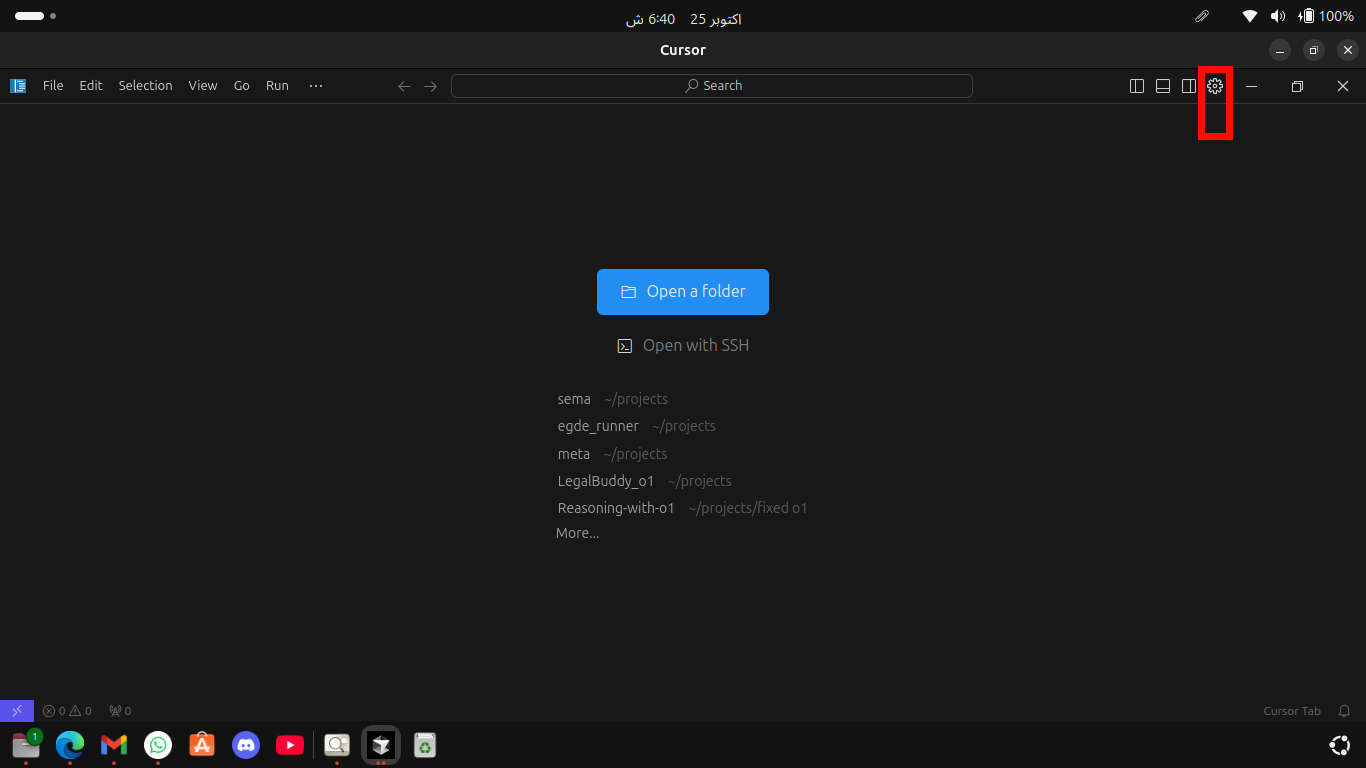
- Go to the Settings section in Cursor IDE. (Refer to the settings screen in the accompanying image).
- Disable any pre-enabled models in the list to avoid conflicts.
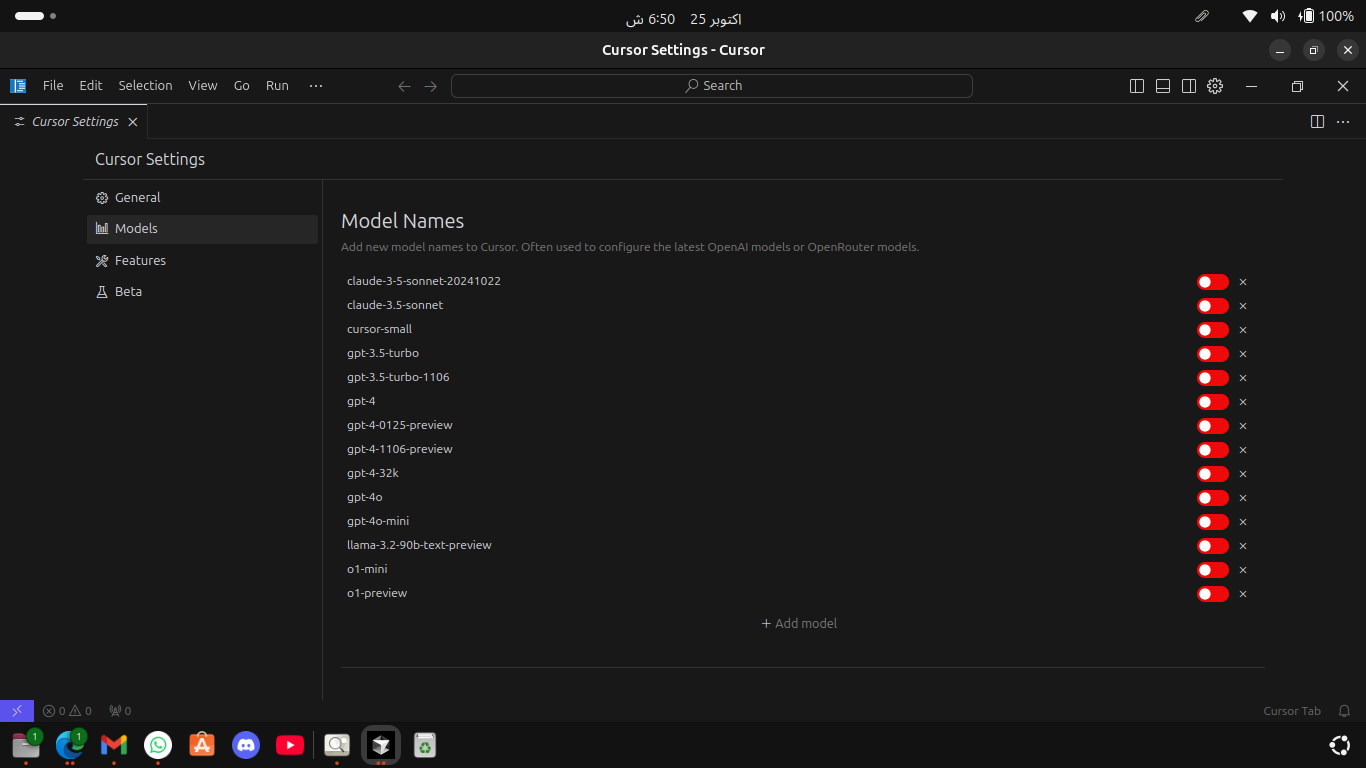
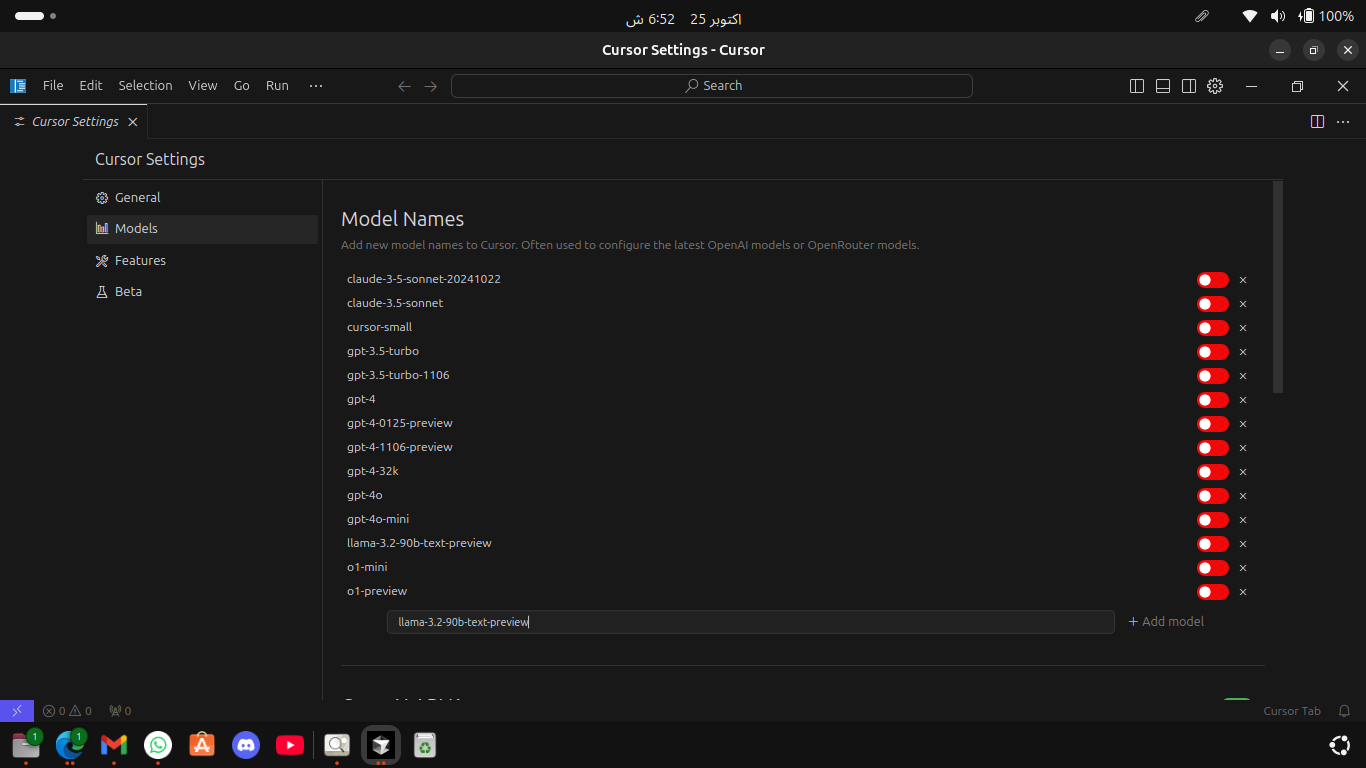
- Click on Add Model to configure a new model.
- Enable the Override OpenAI Base URL option.
- Enter the custom model's base URL. For Groq, use:
https://api.groq.com/openai/v1 - Enter your API Key obtained from the model provider.
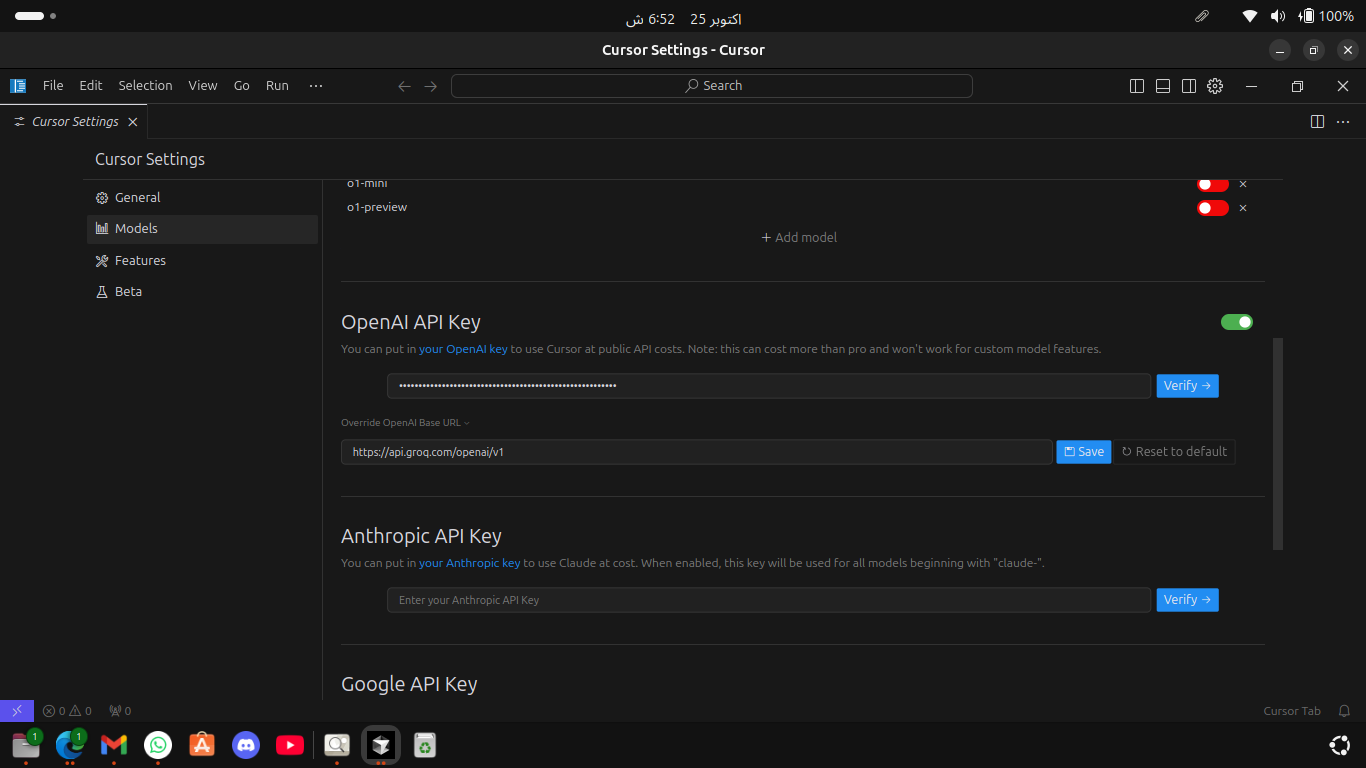
- Click on Verify to test the connection. If all goes well, the model should now be activated and ready for use in Cursor IDE.
To learn how to install Cursor IDE on Ubuntu, follow this installation guide for Cursor on Ubuntu.
Installing and Troubleshooting Cursor on Ubuntu GitHub
Installing and Troubleshooting Cursor on Ubuntu Medium
If you found this guide helpful, feel free to connect me on LinkedIn