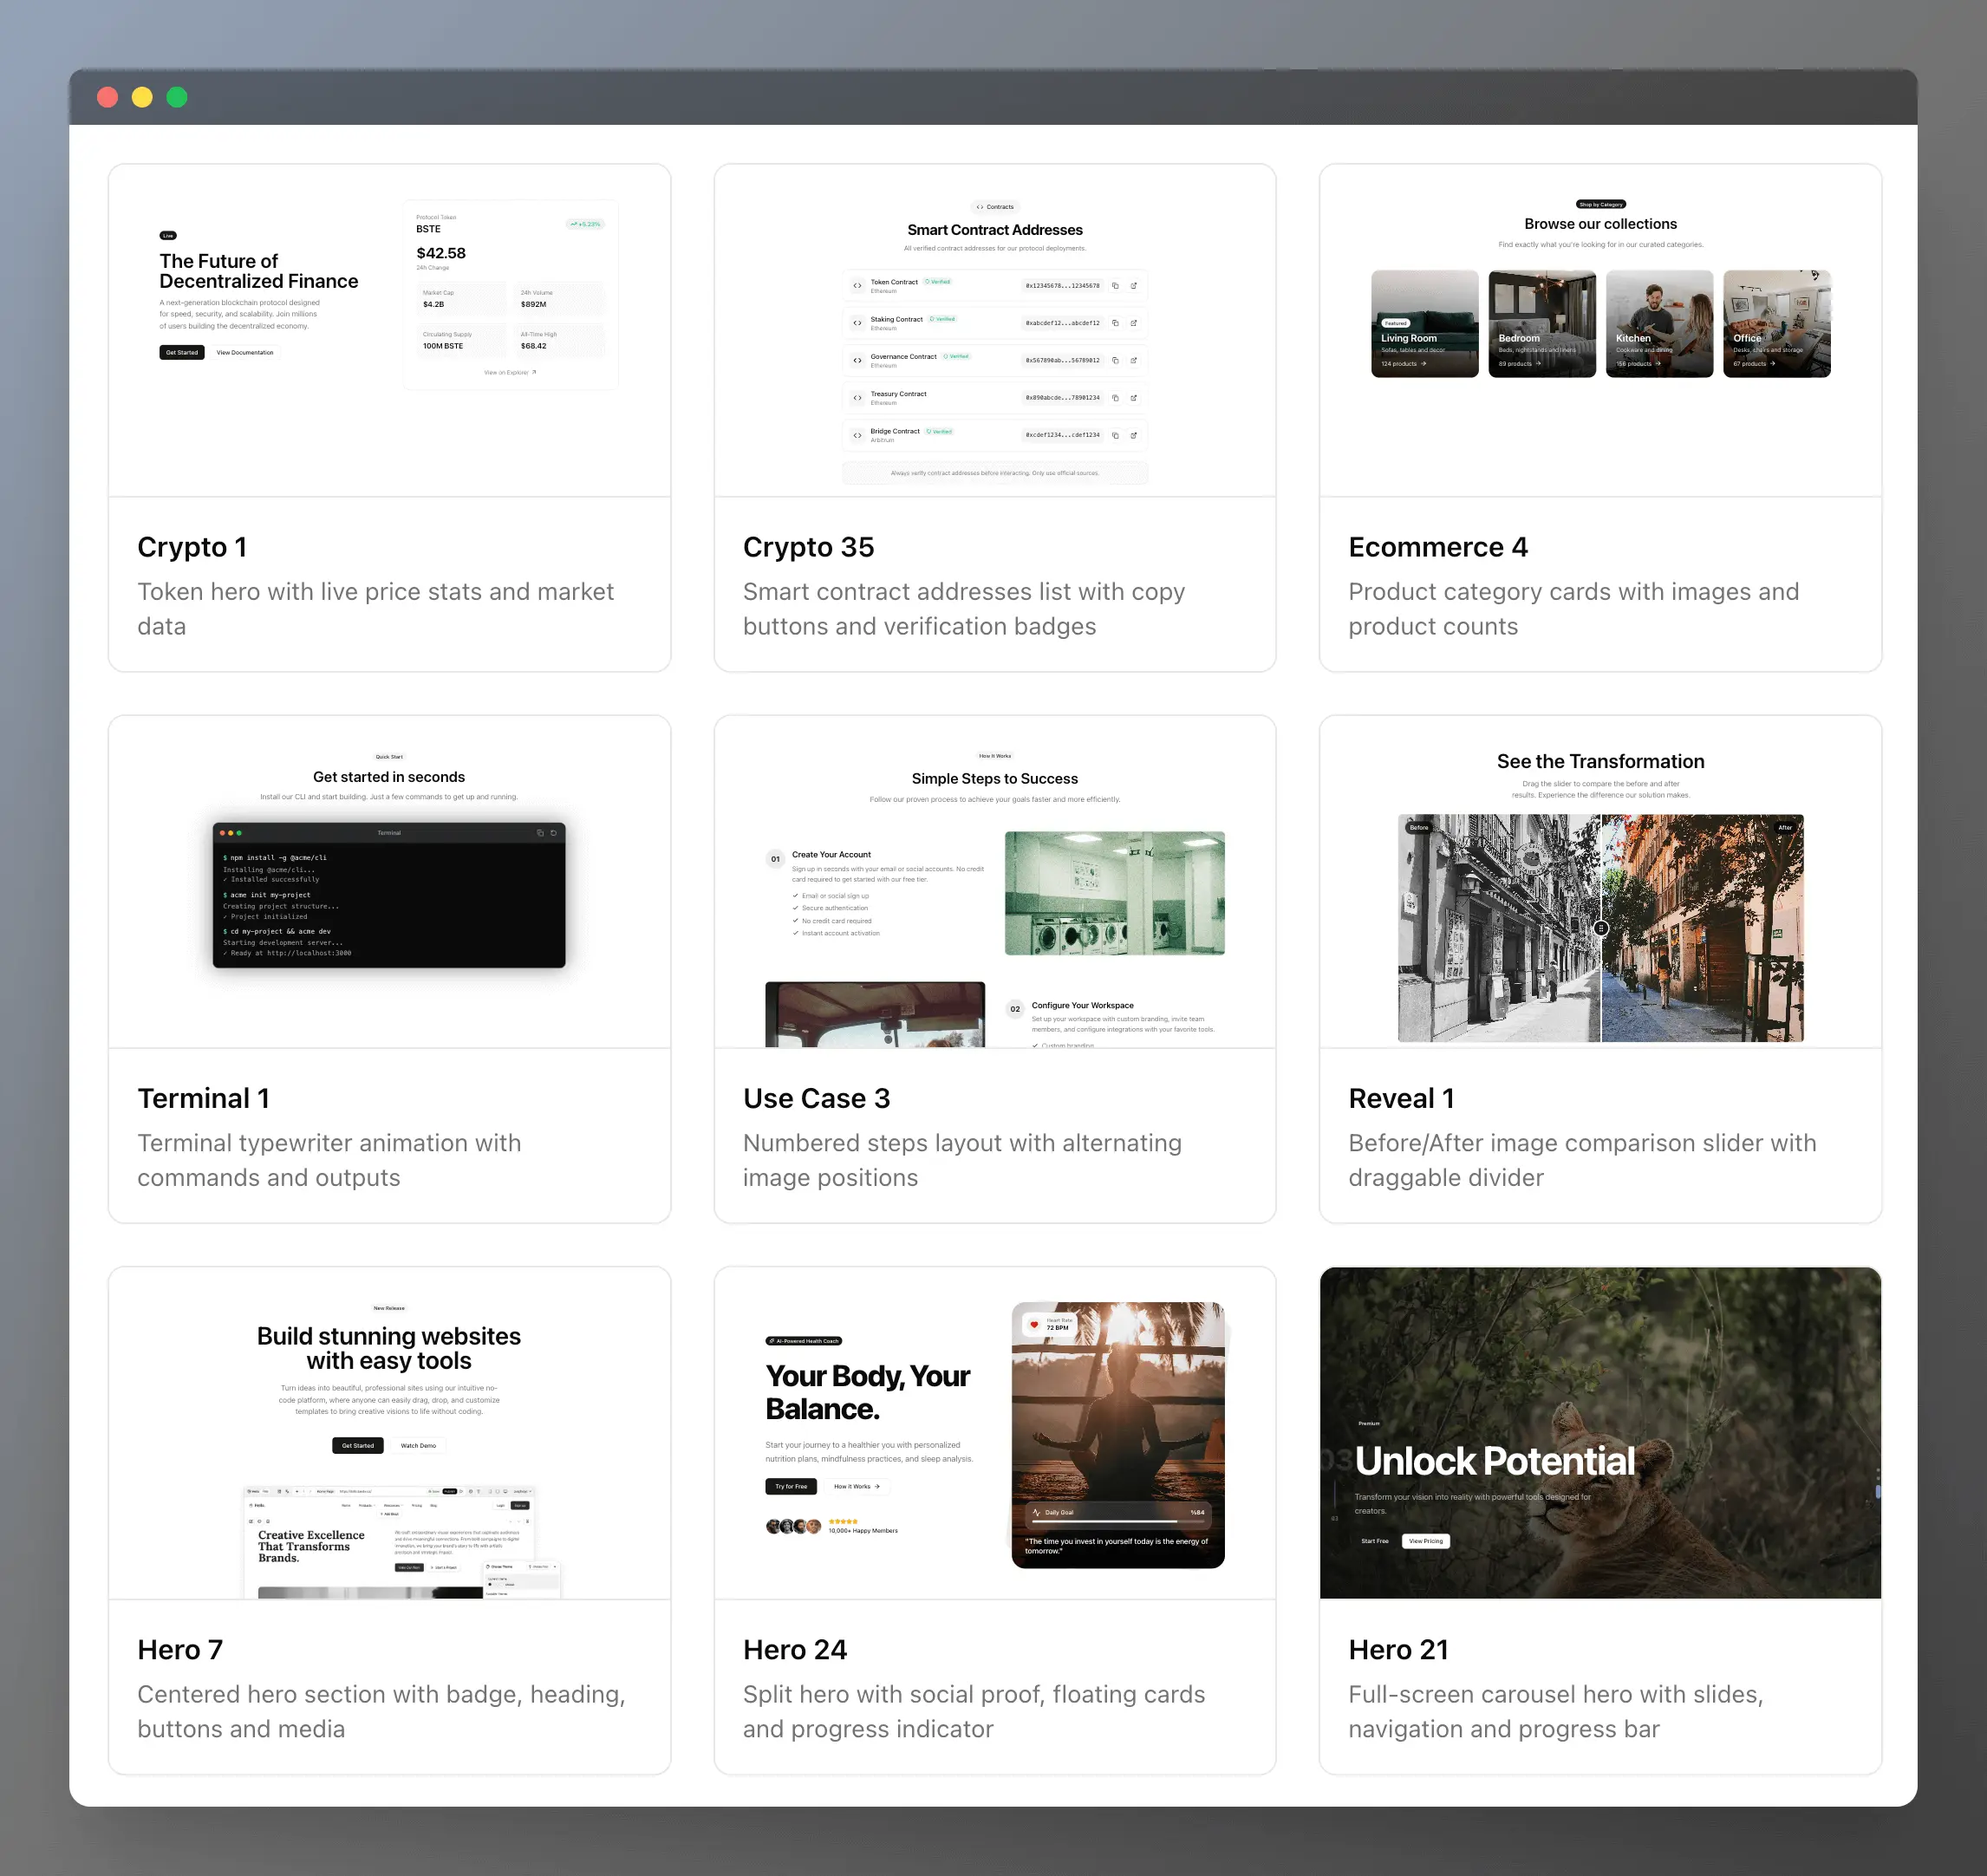
Production-ready shadcn/ui blocks for your next project. Beautiful, accessible Tailwind CSS components you can copy and paste into your apps.
Install any block directly into your project using the shadcn CLI:
npx shadcn@latest add https://ui.beste.co/r/{block-name}For example, to install the hero7 block:
npx shadcn@latest add https://ui.beste.co/r/hero7- Node.js 18+
- Bun (recommended) or npm/yarn/pnpm
- Clone the repository:
git clone https://github.com/beste/beste-ui.git
cd beste-ui- Install dependencies:
bun install- Start the development server:
bun dev- Open http://localhost:3000 in your browser.
| Command | Description |
|---|---|
bun dev |
Start development server |
bun build |
Build for production |
bun start |
Start production server |
bun lint |
Run ESLint |
bun registry:build |
Build shadcn registry |
beste-ui/
├── app/                    # Next.js application
│   ├── api/code/[name]/   # API route for component code
│   ├── blocks/[name]/     # Dynamic block pages
│   └── page.tsx           # Homepage
├── components/
│   ├── ui/                # Base shadcn/ui components
│   ├── beste/             # Beste UI bLocks
│   └── svgs/              # Logos
├── lib/
│   ├── blocks.ts          # Block registry and metadata
│   └── utils.ts           # Utility functions
├── registry.json          # shadcn registry configuration
└── components.json        # shadcn configuration
Each block follows a consistent pattern:
// components/beste/my-block.tsx

interface MyBlockProps {
  title: string;
  description?: string;
  className?: string;
}

// Demo props for preview
export const myBlockDemo: MyBlockProps = {
  title: "Welcome",
  description: "This is a demo block",
};

// Component implementation
export function MyBlock({ title, description, className }: MyBlockProps) {
  return (
    <section className={cn("py-16", className)}>
      <h2>{title}</h2>
      {description && <p>{description}</p>}
    </section>
  );
}{
"style": "new-york",
"rsc": true,
"tsx": true,
"tailwind": {
"baseColor": "stone",
"cssVariables": true
},
"iconLibrary": "lucide"
}The project uses CSS custom properties for theming. Modify app/globals.css to customize colors:
:root {
  --background: 0 0% 100%;
  --foreground: 20 14.3% 4.1%;
  --primary: 24 9.8% 10%;
  /* ... */
}

.dark {
  --background: 20 14.3% 4.1%;
  --foreground: 60 9.1% 97.8%;
  /* ... */
}Contributions are welcome! Please feel free to submit a Pull Request.
- Fork the repository
- Create your feature branch (
git checkout -b feature/amazing-block) - Commit your changes (
git commit -m 'Add amazing block') - Push to the branch (
git push origin feature/amazing-block) - Open a Pull Request
MIT License - see LICENSE for details.
Built with shadcn/ui and Next.js
beste.co, 2026